A broken leaf spring can significantly impact your trailer’s performance, but addressing the issue doesn’t have to be overwhelming. With the right approach, you can replace a broken leaf spring yourself and get your trailer back in top shape. Here’s a clear, step-by-step guide to help you manage the repair effectively.
What You Need to Know About Replacing a Broken Leaf Spring
Before exploring the step-by-step process, it’s essential to understand the basics of what you’re dealing with. Leaf springs are a crucial part of your trailer’s suspension system, providing stability and support. When a leaf spring breaks, it compromises your trailer’s ability to handle loads and can lead to further damage if not addressed promptly.
Tools and Materials Needed
To replace a broken leaf spring, gather the following tools and materials:
- Floor jack
- Jack stands
- Impact driver or ratchet
- Socket set
- Box-end wrenches
- Mallet or hammer
- Torque wrench
- Replacement leaf springs and U-bolts
Step-by-Step Guide to Replacing Leaf Springs
Step 1: Safety First
Ensure your trailer is parked on a flat surface and the wheels are chocked. Use the floor jack to lift the trailer enough to take the weight off the suspension. Secure the trailer with jack stands placed under the frame for stability.
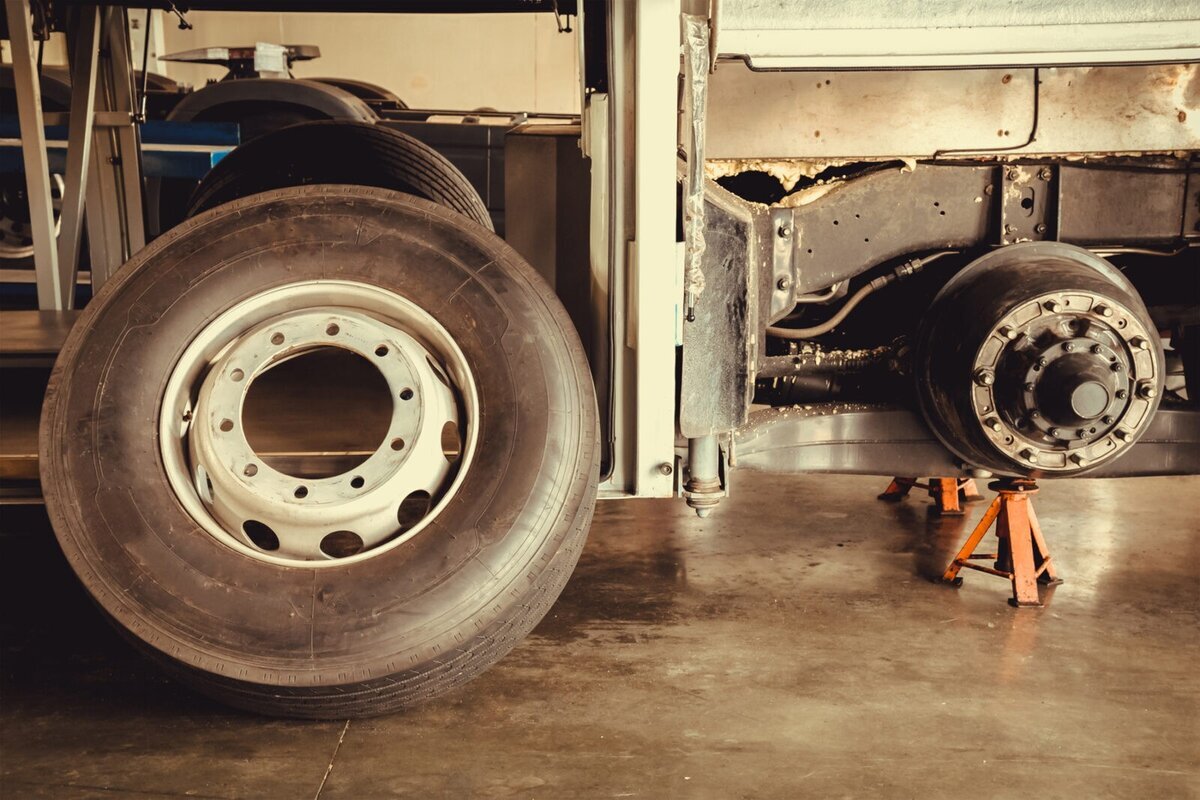
Step 2: Remove the Wheels
With the trailer lifted, remove the wheels using your impact driver or ratchet. This will give you clear access to the leaf springs and the suspension system.
Step 3: Remove the Old Leaf Springs
Locate the U-bolts that hold the leaf springs to the axle. Use your impact driver and socket set to remove the nuts from the U-bolts. Once the U-bolts are off, the leaf springs will be free. Carefully remove the old, broken leaf springs.
Step 4: Install the New Leaf Springs
Position the new leaf springs in place. Align them with the mounting brackets and the axle. Secure the leaf springs using new U-bolts, ensuring they are tightened to the manufacturer’s specified torque settings. This step is crucial for maintaining the integrity of the suspension.
Step 5: Reattach the Wheels
With the new leaf springs installed, reattach the wheels to the trailer. Make sure the lug nuts are tightened securely.
Step 6: Lower the Trailer
Carefully lower the trailer off the jack stands using the floor jack. Remove the jack stands and ensure the trailer sits evenly on the ground.
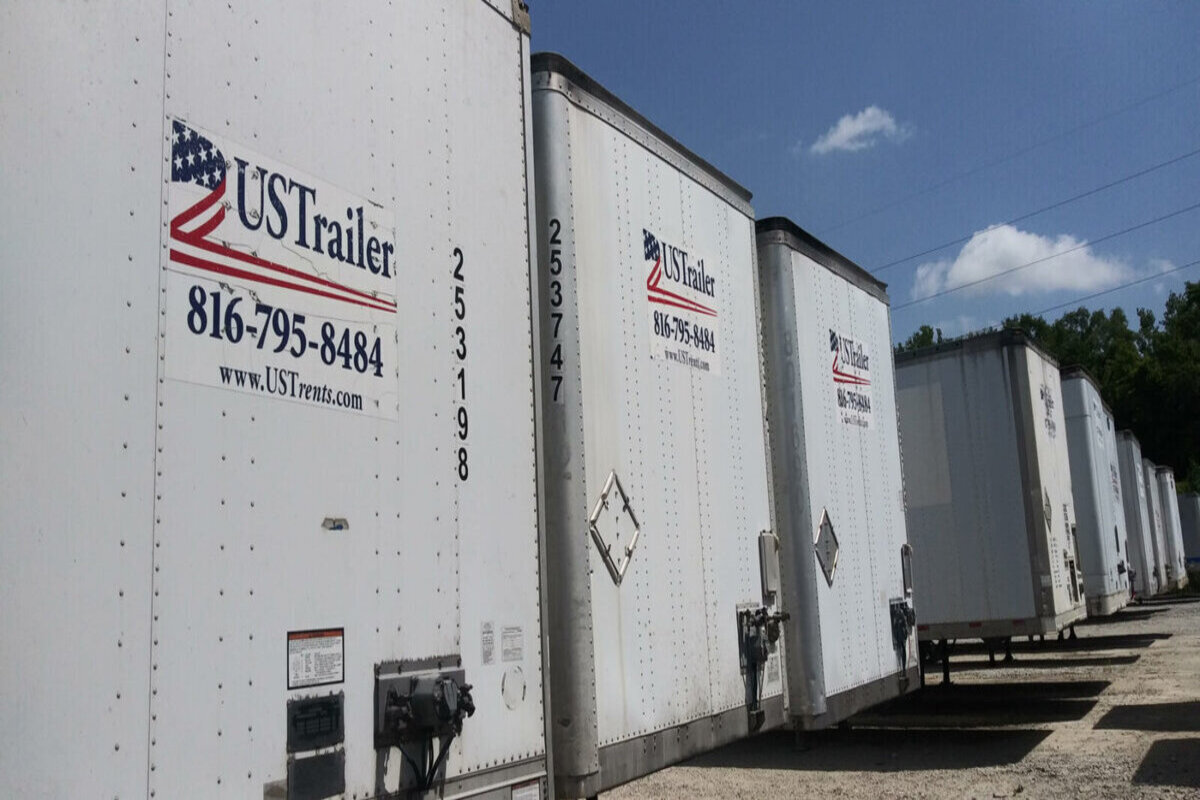
Why Choose US Trailer?
At US Trailer, we pride ourselves on providing high-quality trailer parts and exceptional customer service. Our extensive inventory ensures you find the exact parts you need, and our knowledgeable staff is always ready to assist you with any questions. Trust us to help keep your trailer in top condition with our reliable products and expert advice.
In Summary
Replacing a broken leaf spring on a trailer is a task that, with the right tools and guidance, you can handle yourself. However, if at any point you feel uncertain, it’s best to consult with professionals. Regular maintenance and timely replacements are key to ensuring your trailer’s safety and performance. For more advice or to schedule a professional repair, contact us.